
Automatic Rules for Blacklisting
Summary
Automatic Rules for Blacklisting allow you to automatically block unprofitable traffic sources based on custom conditions.
Before You Begin
- Role: Advertiser
- Estimated time: ~5 minutes
Steps
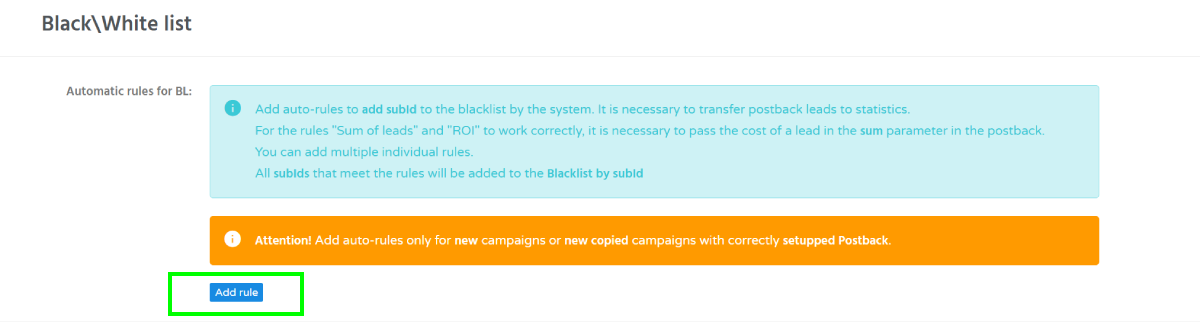
- Locate the Black/Whitelist section and the Automatic rules for BL area.
- Click Add rule to create a new blacklisting rule.
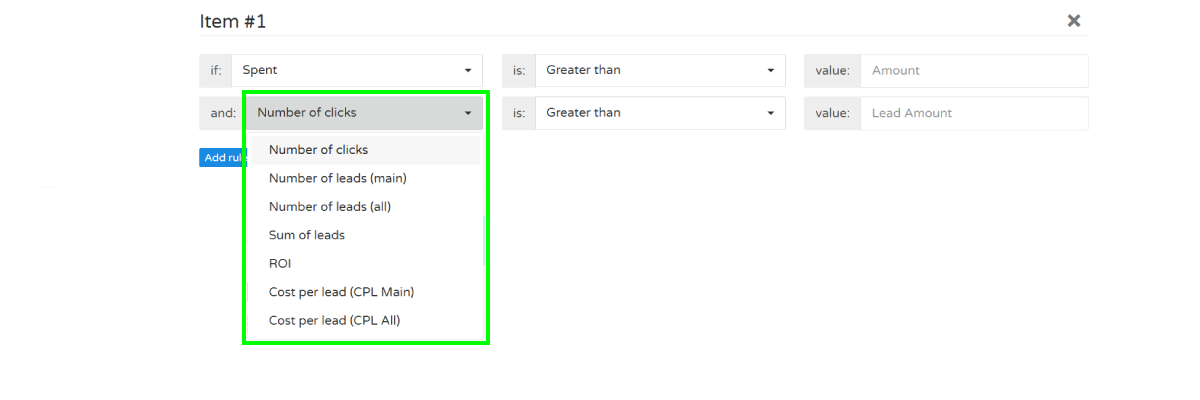
- Configure rule conditions to automatically blacklist unprofitable sources.
Each rule uses IF-THEN logic. If both configured conditions are met, the traffic source is automatically added to the campaign blacklist.
The first part of condition, it's one of these parameters:- Spent
- Show
- Click

- The second condition can use one of the following metrics:
- Number of clicks
- Number of leads (main)
- Number of leads (all)
- Sum of leads
- ROI
- Cost per lead (CPL main)
- Cost per lear (CPL all)
- Repeat the process to create additional autoblacklisting rules if needed.

Troubleshooting
Issue: Sources are not being added to the blacklist automatically
Solution:
- Verify that your campaign has a correctly configured postback.
- Make sure conversion data is being received in campaign statistics.
- Check that the automatic rule conditions have been met.
- Confirm that the campaign is active.
Issue: ROI, CPL, or lead-based rules are not working.
Solution:
- Verify that conversion postbacks are being received.
- Make sure lead values are passed correctly in the postback.
- Wait until enough clicks and conversions have been collected to meet the rule conditions.
Verification
When a rule is triggered, the corresponding Source ID will be automatically added to the campaign blacklist.